Are you required to teach telling time, mainly hours and half hours to your class. What are you going to do? Is worksheets enough? (No, if you didn’t know the answer) Today we are going to talk about teaching your first graders (or primary students) to tell time using the hour hand. If you missed my introduction to this series, you can find that blog post here.
Clock Anatomy
When I first started teaching, I should have used an anchor chart or poster. I constantly mixed the hour and half hour hands up! When working with kindergarteners or first graders, keep your anchor charts simplistic/basic. If you cram too much on an anchor, their eyes do not know where to look. Let’s start with the clock. If you are creating an anchor chart, try to keep it under 5 facts to show and share.
Vocabulary: The Face

This will probably be a new concept for students. The face of a clock is where the time is displayed. On the face you can have between 2-4 hands: the hour hand (short), the minute hand (long), the second hand (usually red) and the UTC (Coordinated Universal Time). In the primary grades, I will not teach the UTC, as it is confusing for some adults!
Teaching Time Using The Hour Hand
The biggest confusion I see with teaching the hands is that children think the hour hour is the longer hand. It isn’t. The hour is the short hand. Students will need lots of practice, even when you think they have it. It is important to teach both the hour and half hour with different clocks, and to teach children to manipulate the clock different ways.
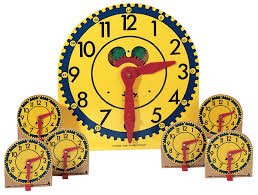
First, let them just play with the clocks. There are a few out in the marketplace. In most schools you will find the wooden ones. Here is an example of the wooden clocks, referred to as the “Judy” clocks. While the teacher’s clock has the gears that show how the hands properly move, the student clocks are made of a hardboard and in time, tend to get loose and not hold the time.

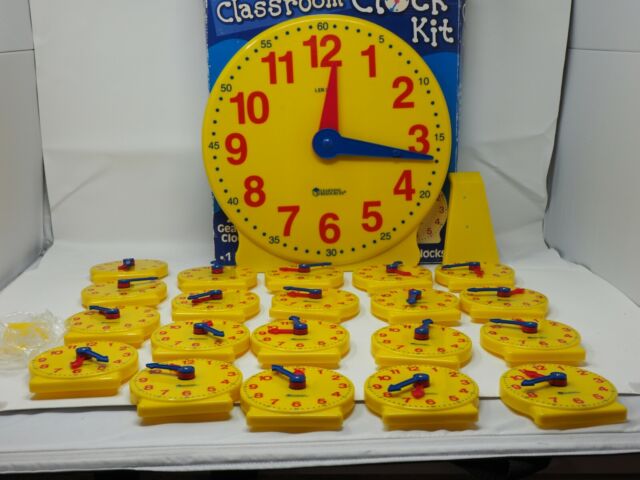
I would recommend the “Learning Resources Big Time Clocks” (see picture below). Both the teacher clock and the student clocks have gears. I give a “rules” talk before handing them out to play, and the students are very conscientious about abiding by the rules. Here is a link to them on Amazon.

Your students will most often turn the clock hands both ways. When teaching clocks we talk about time moving and never stopping. You might get the question about why we gain an hour or lose an hour. You might also get the question about February 29th.
In one of my math rotations I have “read about math” and there are books, both fiction and non-fiction on time. I will read selections when teaching and I will purposely sit near the calendar and there are many connections between time and the calendar.
I’m creating a list of apps and picture books to use with teaching time. When it is done, I will post a link here.
Telling Time With the Hour Hand
Materials that you want to have ready include anchor charts, a large clock for demonstration, student size clocks, centres, apps, books, task cards, worksheets (I prefer interactive notebooks),
Start with “o’Clock”, though you might get a question on, “what does o’clock mean?”. O’clock is a contraction. The long form is “of the clock”. I have no idea what that means but I’m sure it’s a good story. Give your students lots of oral activities where the answer is “______ o’clock.” When you feel that they are getting that (many will), then introduce what o’clock looks like on the digital clock. This is the way most of them will see it. If your classroom has analog clocks, then teach analog first. Students should be able to recognize both readily.
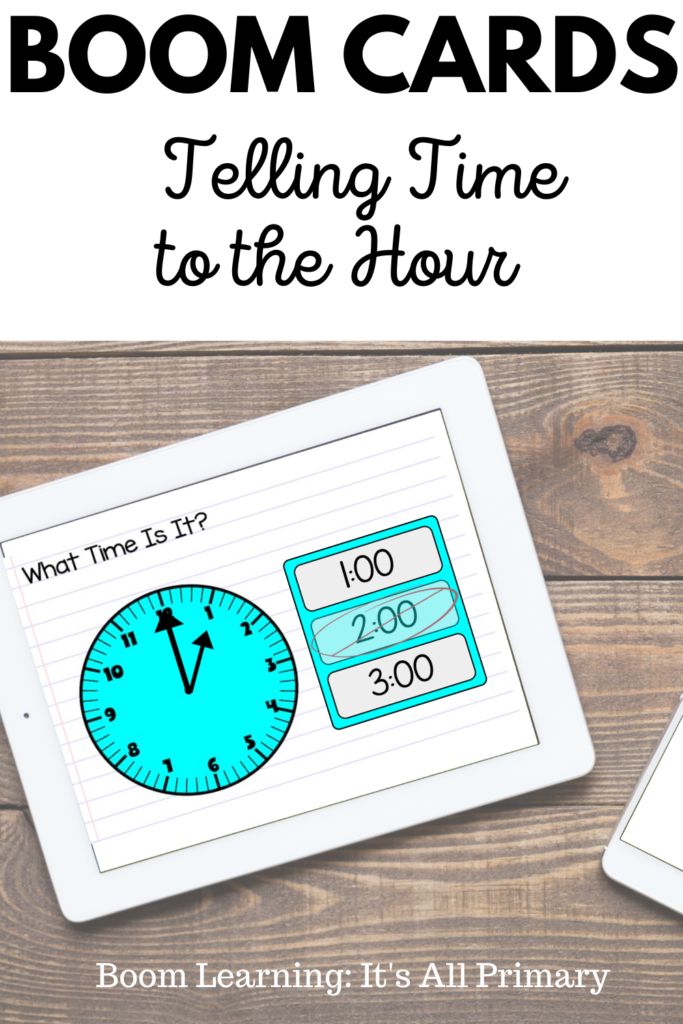
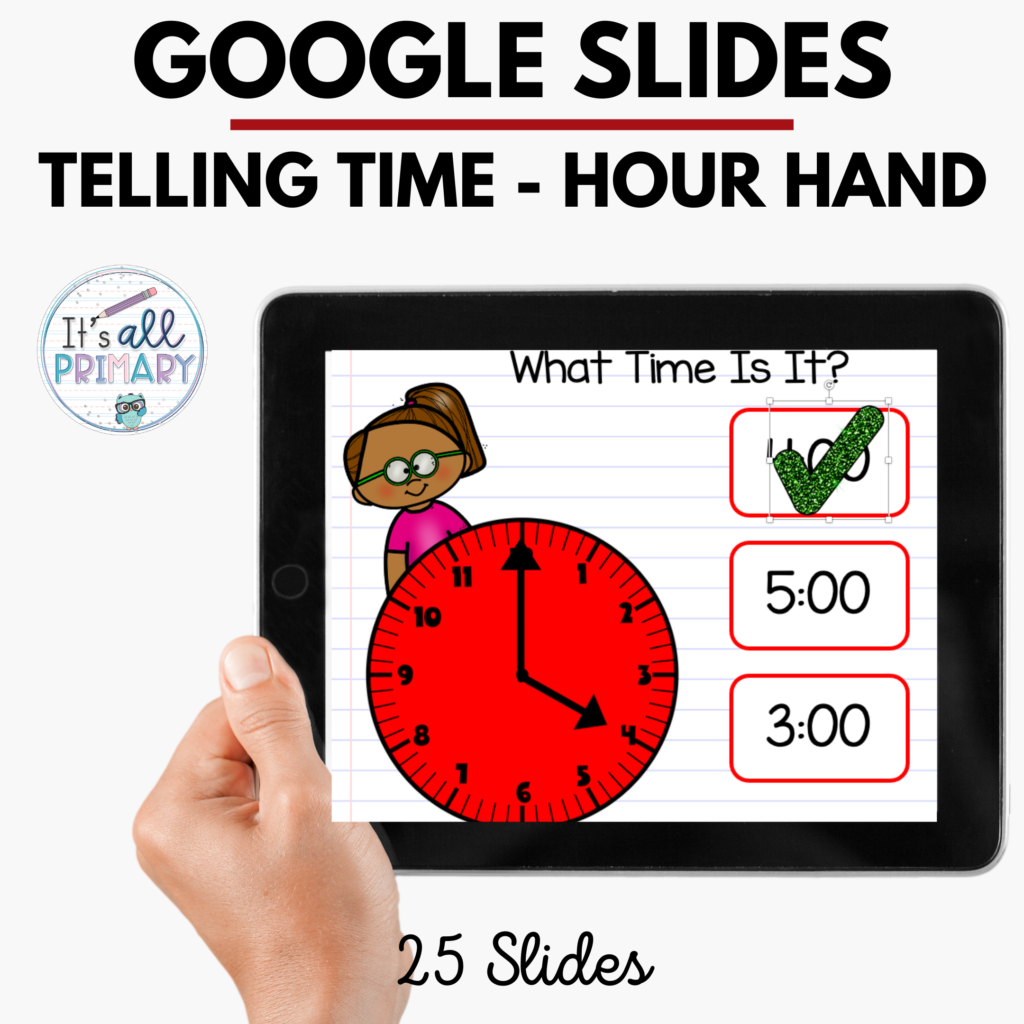
When you feel that the class has got the “o’clock” down, at least 80% then teach how “o’clock= :00”. This will take a little longer but keep at it. Again, start with oral and move towards worksheets, Boom Cards, and/or Google Slides (depending on your teaching situation). I have made sets of all of these and they are available in Boom Learning and Teachers Pay Teachers.


Different Ways to Teach Time
Remember, using Boom Cards and Google Slides will give you only a couple ways to teach time. Students need more. They need to opportunity to create time themselves. You need to teach how to draw the hands and the importance of where they are place. Starting with the hour hands is the easiest for students to practice. In our next blog post, we are going to look at the half hour, and this trips up many students. Let’s tackle it together!
Let me know in the comments if you have any questions about teaching with the hour hand. I would be glad to help!
Happy Teaching!

Leave a Reply
You must be logged in to post a comment.